Proofing Profiles
What is a Proofing Profile?
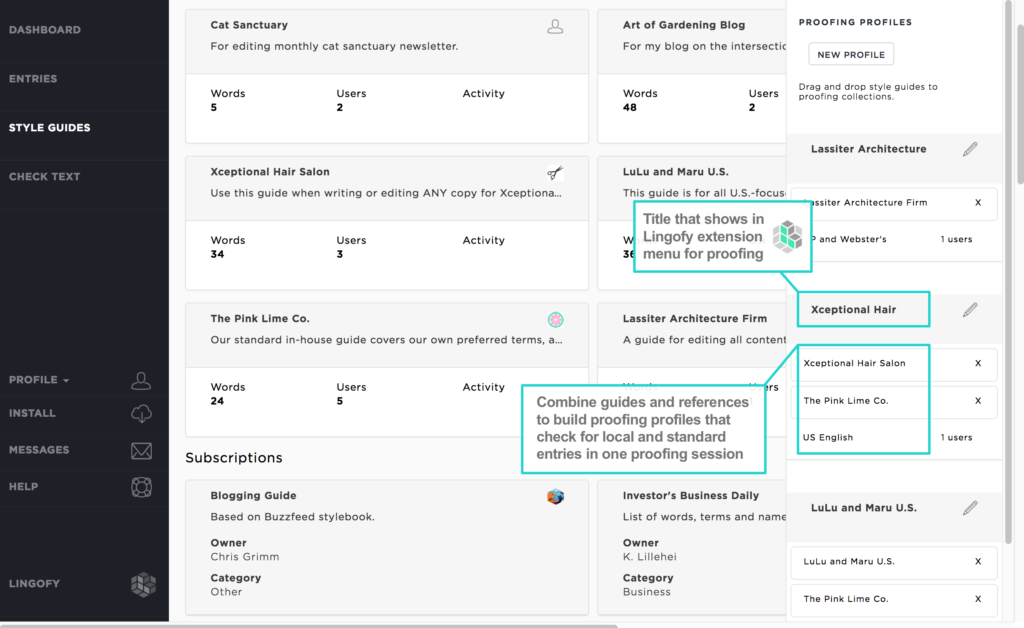
It’s how Lingofy puts one or more of your guides containing entries into the drop-down menu that you see when you click on your Lingofy extension. You build your own profiles, so you can decide which custom entries you want Lingofy to check for in a proofing session.
For example, perhaps you have one client who prefers “theater” and one client who prefers “theatre” — you can create a custom guide for each client that includes preferred spellings so that you always use the right version in the right copy.
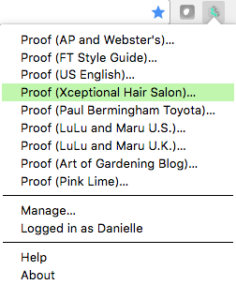
The illustrations here highlight reasons to create different guides. Our fictional ad agency The Pink Lime Co. has an in-house guide with terms they want to avoid or adhere to such as preferring “news conference” to “press conference.” These entries are general terms that apply to all their customer copy. In addition, they also have customer-specific guides to help them navigate terms such as “Xceptional Hair Salon,” one of their clients. “Xceptional” would be flagged by a traditional spell-checker, but Lingofy will not only allow the term, it will also make sure it’s spelled the way the client wants it spelled in every use. To continue our example, if you worked at The Pink Lime Co., you might create a proofing profile that includes both the Pink Lime guide and the Xceptional Hair Salon guide for proofing any copy written for this client. You could add the reference “US English” to check for Plain Language guidelines and American English spelling.
You can create or review these profiles on the Style Guides screen in the right-hand sidebar labeled “Proofing Profiles.”
Adding Guides to Proofing Profiles
 A guide’s contents are managed and shared from the Lingofy Manager, and the way you get a guide of entries to your proofing menu is by adding it to a proofing profile. Profiles are shown in your Lingofy extension menu, which is how you check your copy against the custom entries you’ve created. This is how you put your customization into action when editing content.
Tip: Just as you can share custom guides with other users, you can create and share profiles.
New Profile
A proofing profile will connect a custom guide or guides to the Lingofy proofing extension you installed in your browser so you can check text against the specific entries of that guide. (This may be a guide you created or one that was shared with you.)
You can create as many profiles as you want. You can put multiple guides into a profile, but only one reference (“AP and Webster’s,” “US English,” etc).
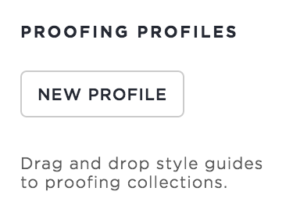
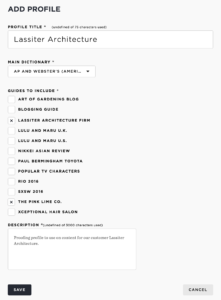 The following required fields are needed to create a new profile (shown at right):
Title: What name do you want to see in the Lingofy extension menu when it’s time to proof?
For example, if this profile is for a specific topic or client, you might give it a descriptive name:
- Basketball Blog
- LuLu and Maru Pet Supplies
That way when you or other users are editing, you’ll know exactly which proofing option to check the copy against.
Main Dictionary: Select the reference to be paired with the guide(s) in this profile. Depending on your account and language, you may have “AP and Webster’s,” “US English” or others.
Guides to Include: Check the box next to the guide(s) you want to add to this profile.
Description: Explain the purpose or contents of this profile. This info may be helpful to you in the future or as an explanation for colleagues or employees with whom the guide is shared.
Tip: You can go back and change any of these fields by clicking the pencil (edit) icon next to the title in the “Proofing Profiles” area.
Adding Proofing Profiles to the Lingofy Extension Menu
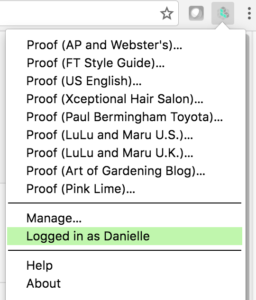
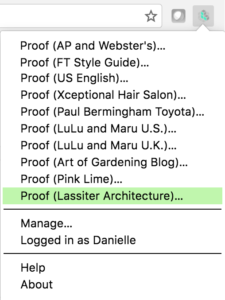
By clicking the Lingofy button (in this example below, the Chrome browser extension), you can see all the references and proofing options associated with your account. Go to the Install screen in the Lingofy Manager to download and add your own Lingofy button to start proofing.
Once you create a proofing profile, you need to add it to your Lingofy extension menu so it’s available for checking text. Once added, it will be there until you delete the profile in Lingofy Manager.
To update your proofing menu options, follow these step-by-step instructions:
| 1.
Click the Lingofy extension button in your program or browser and select “Logged in as…” |
|
| 2.
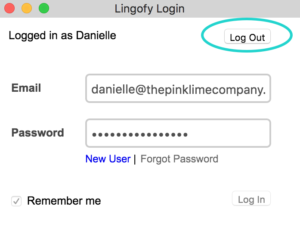
In the “Lingofy Login” pop-up, select the “Log Out” button. |
 |
| 3.
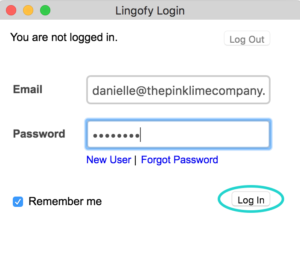
Now enter your email and password and select the “Log In” button |
 |
| 4.
Click the Lingofy extension button and your list should be updated with your new proofing profile. |
 |
Managing Proofing Profiles
A profile can be managed in several ways, like custom guides. Our intent is to
pro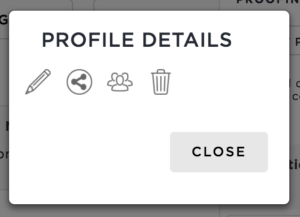 vide you with as many workflow options as possible.
If, for instance, you want to ensure that other users on your team are proofing with the appropriate guides and references in a specific way, you can opt to share profiles with them instead of custom guides. Another reason you may share a profile instead of a guide is to keep another user from browsing those terms in the Lingofy Manager, you secret-keeper! They can proof against the entries, but won’t be able to browse or edit them.
To see your profile management options, click one in the sidebar on the right of the Style Guides screen and you will see the “Profile Details” pop-up where you can:
![]() Edit: Adjust the title, guides, reference and description of the profile.
Edit: Adjust the title, guides, reference and description of the profile.
![]() Share: Send your profile to other Lingofy users.
Share: Send your profile to other Lingofy users.
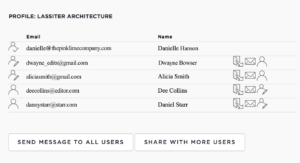
![]() Edit Users: Add or remove users, message users attached to it, share it with more users and change user permissions. (Shown below.)
Edit Users: Add or remove users, message users attached to it, share it with more users and change user permissions. (Shown below.)
![]() Delete: You can throw out a profile at any time by clicking the trash can icon. This will not delete references or guides.
Delete: You can throw out a profile at any time by clicking the trash can icon. This will not delete references or guides.
